
Earlier this week, I met up with a dear friend of mine on campus for a quick powwow before class. Once we had exchanged pleasantries about the boring stuff (i.e. work and school), we got down to business discussing the most pressing issues of our day: peppermint mochas, holiday shopping, and eventually, this blog.
“Always with the eggs!” my friend complained. “I’m tired. Maybe I don’t want to cook half a dozen eggs into custard and then submerge into an ice bath just to wait 8 hours before I can even churn the ice cream. Why can’t you just do something quick and dirty?”
Quick…dirty…ice cream?

I was baffled.
This was ice cream we were talking about, after all…not an oil change.

Ice cream is a process. Albeit, some may call it a long, arduous, and unecessary process…but still.
If I learned anything from my 6th grade English teacher, it’s that nothing worthwhile in life is ever easy.
Or…is it?

This little conversation had my wheels spinning all week, as I thought about ways to cut corners in the ice cream making process. I wanted to make something quick, as my friend suggested, but per the Official Ice Cream Blog Rules, it had to be something decadent, rich, and easily photographable. I was stumped!

Then one day, my Senior Product Manager aka fiancé reminded me about a treat that I had made for him a few months ago. “Do you remember that one time you disappeared into the kitchen and came out a few minutes later with that chocolate covered ice cream cone thing?”
*Enter lightbulb moment*
Aha, that’s it – Quick n Dirty Sundae Cones!

These fit the bill perfectly.
Quick? Check. These cones come together in a flash! In fact, you only need 4 ingredients:
1). Ice Cream

2) Cones

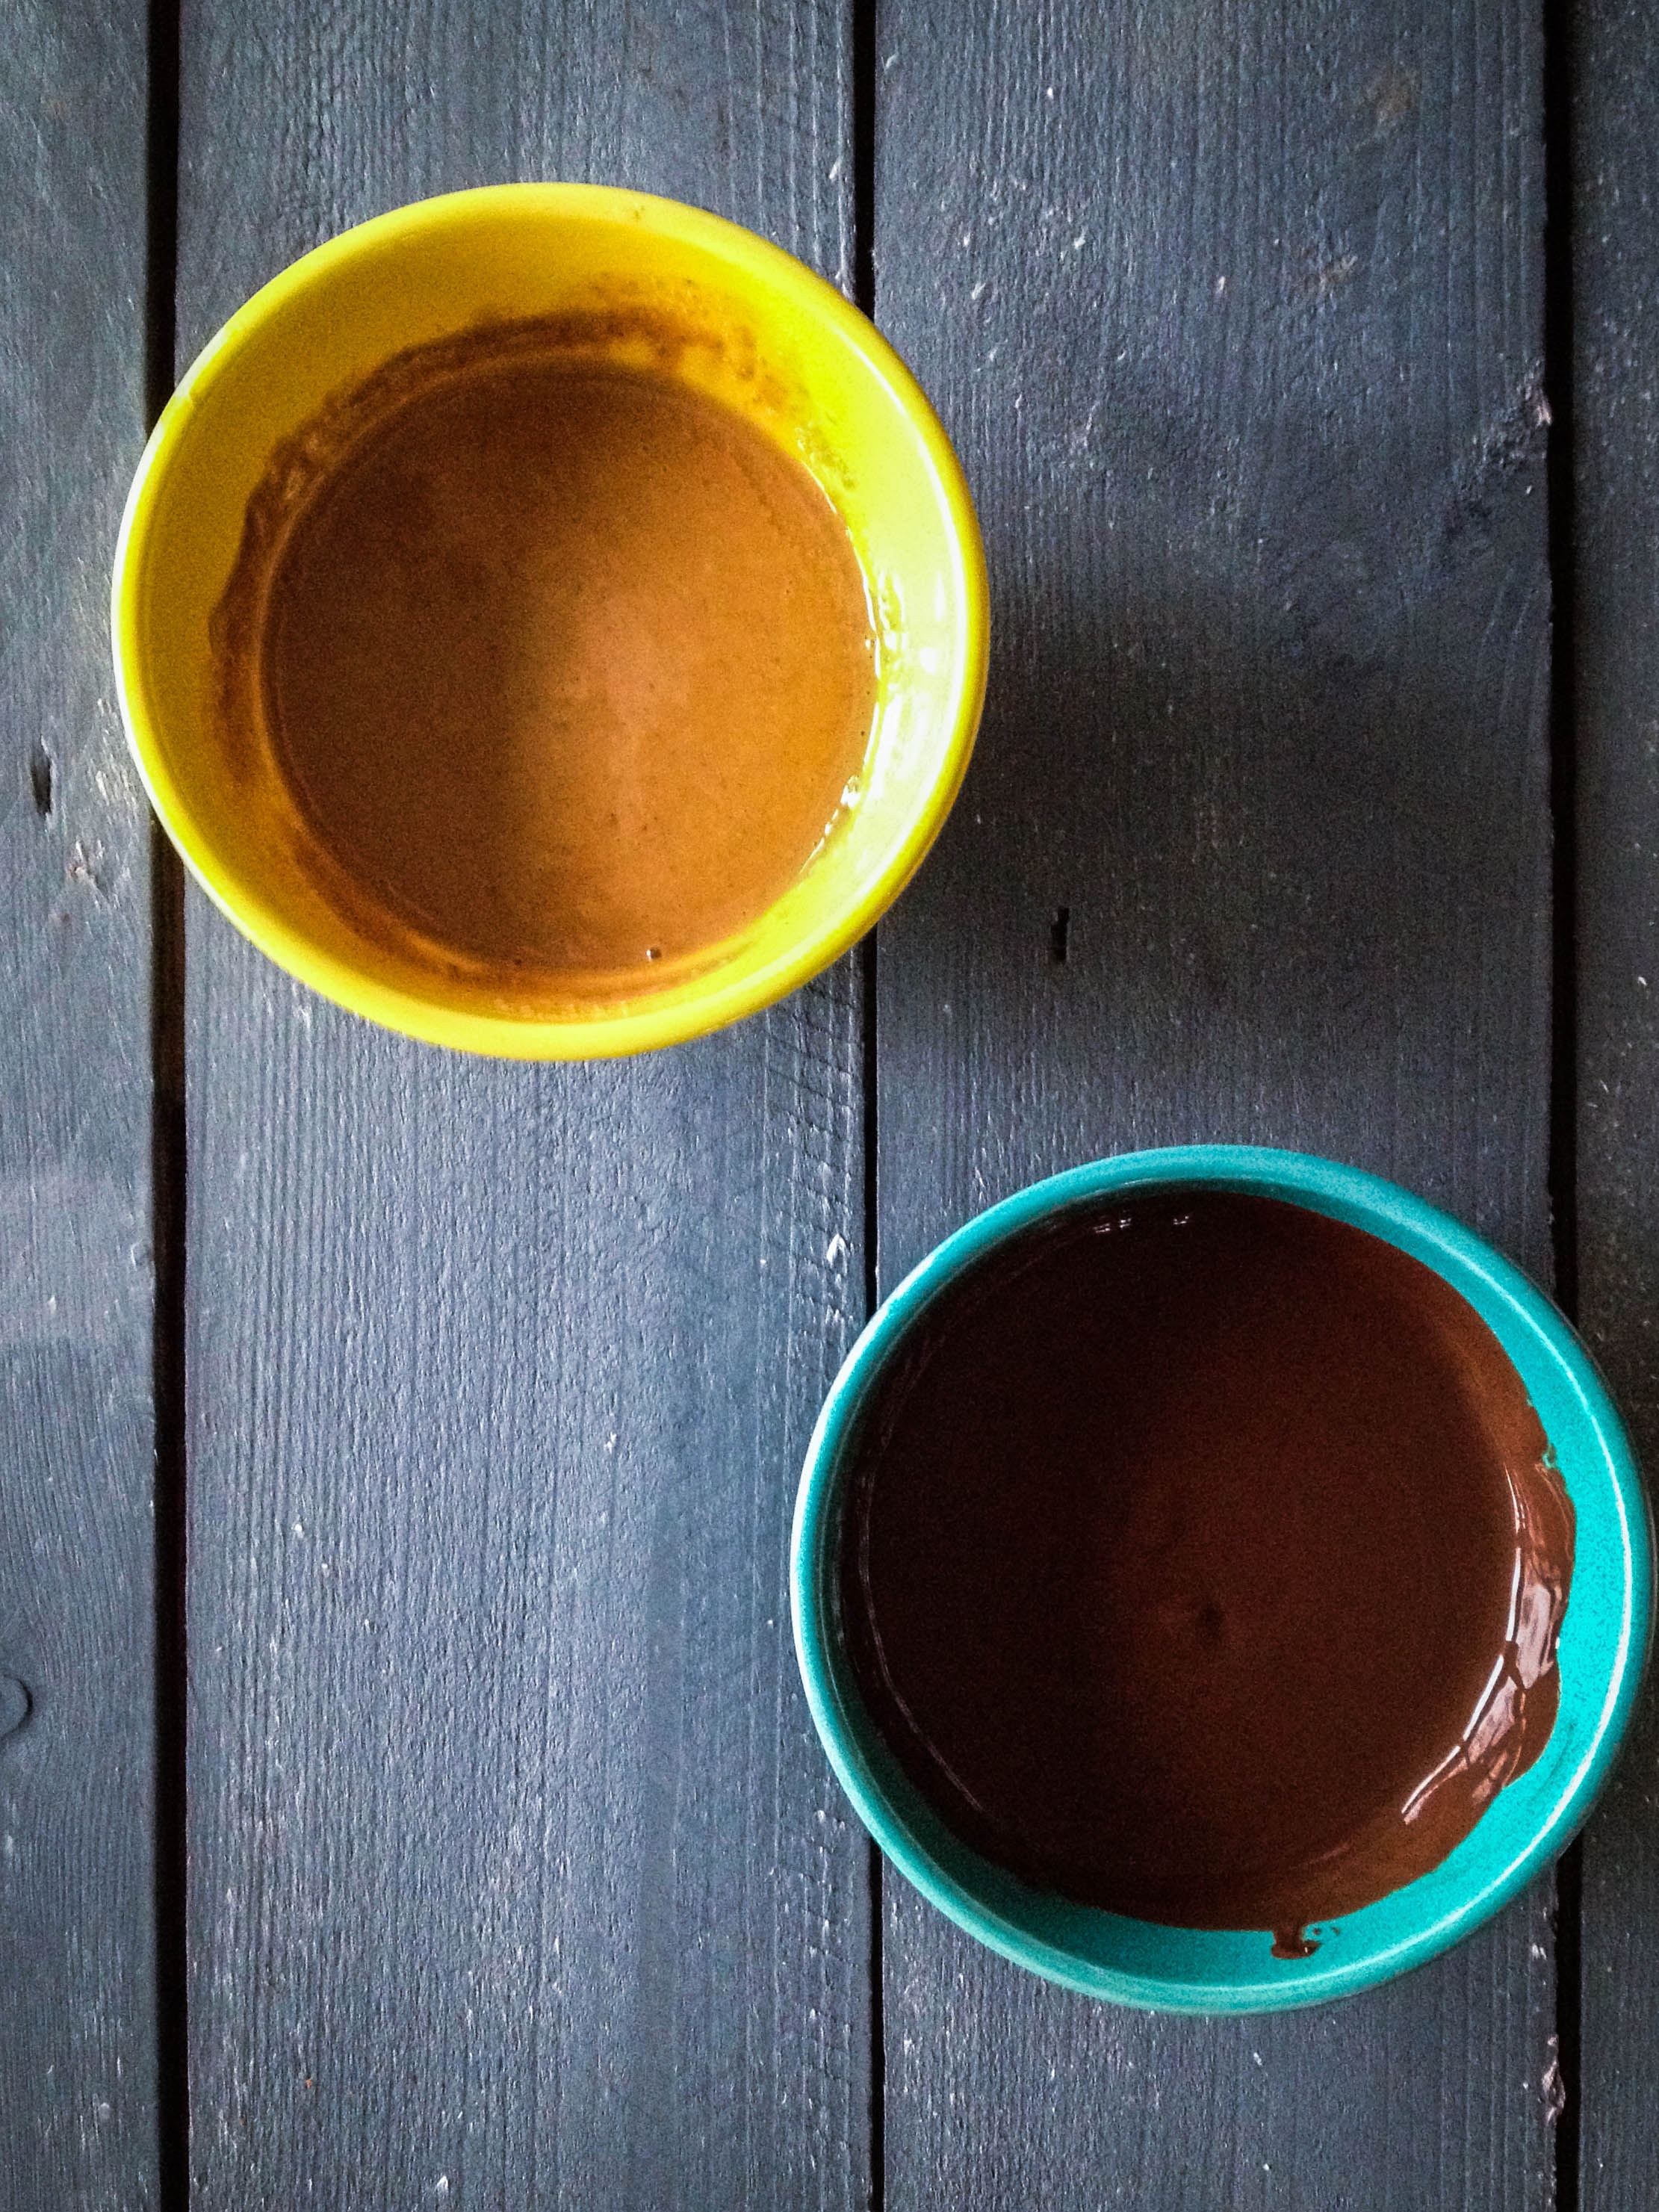
3) Chocolate or Peanut Butter Shell
4) Toppings

But the big question: are they dirty enough?
Well, if the melted chocolate and sprinkles all over my kitchen counter have anything to say about it…then yes, we shouldn’t have a problem.

The best thing about these cones (other than the quick ‘n dirty part) is that you can choose your level of involvement: you can hand-make all of the ingredients, or purchase every single one at the store.
(However, making homemade cones is nice because you can make mini versions – who wants one giant sundae cone after dinner when you could eat multiple smaller versions throughout the day? If you’re moving around the house while you eat them, you’re basically breaking even calories.)

Like most things homemade, these cones knock the store-bought version out of the park (those ones are still awesome though, don’t get me wrong). But these are richer, messier, and a truly impressive dessert that doesn’t take much time at all.
Messy and beautiful, quick and dirty….these sundae cones are sure to be the bright spot in your day.

Can you imagine bringing these out at your next holiday party? Or, encouraging guests to make their own? Forget party games – bring out the make-your-own sundae cones!
What’s your favorite sundae cone combo?
Happy Scooping!
Quick ‘N Dirty Sundae Cones
Yield: However many you feel like making!
You will need:
Waffle cones (homemade or store bought)
Chocolate Shell (homemade or store bought)
Your favorite ice cream (homemade or… you get the point)
Nuts or other favorite toppings (crushed cookies, pretzels, graham crackers, or toffee)
Directions:
- Obtain a waffle cone. With a spoon, carefully line the bottom and sides with the chocolate (or peanut butter) shell, letting a little build up at the bottom (you know how store bought version have that delicious little nugget of chocolate on the bottom?). Refrigerate on a cookie sheet lined with parchment paper until hardened, about ten minutes.
- Once the shell has hardened, pack the cone with ice cream, just like a normal cone. Take a little time to round out the top.
- Dip cone in the bowl of chocolate shell, or drizzle chocolate over the top with a spoon. Immediately garnish with desired topping. Eat right away, or store in an air tight container for up to a week.

The quick & easy dirty chocolate plus variations sounds very very enticing!!!
Haha thank you very much! They didn’t last very long in our house 🙂